


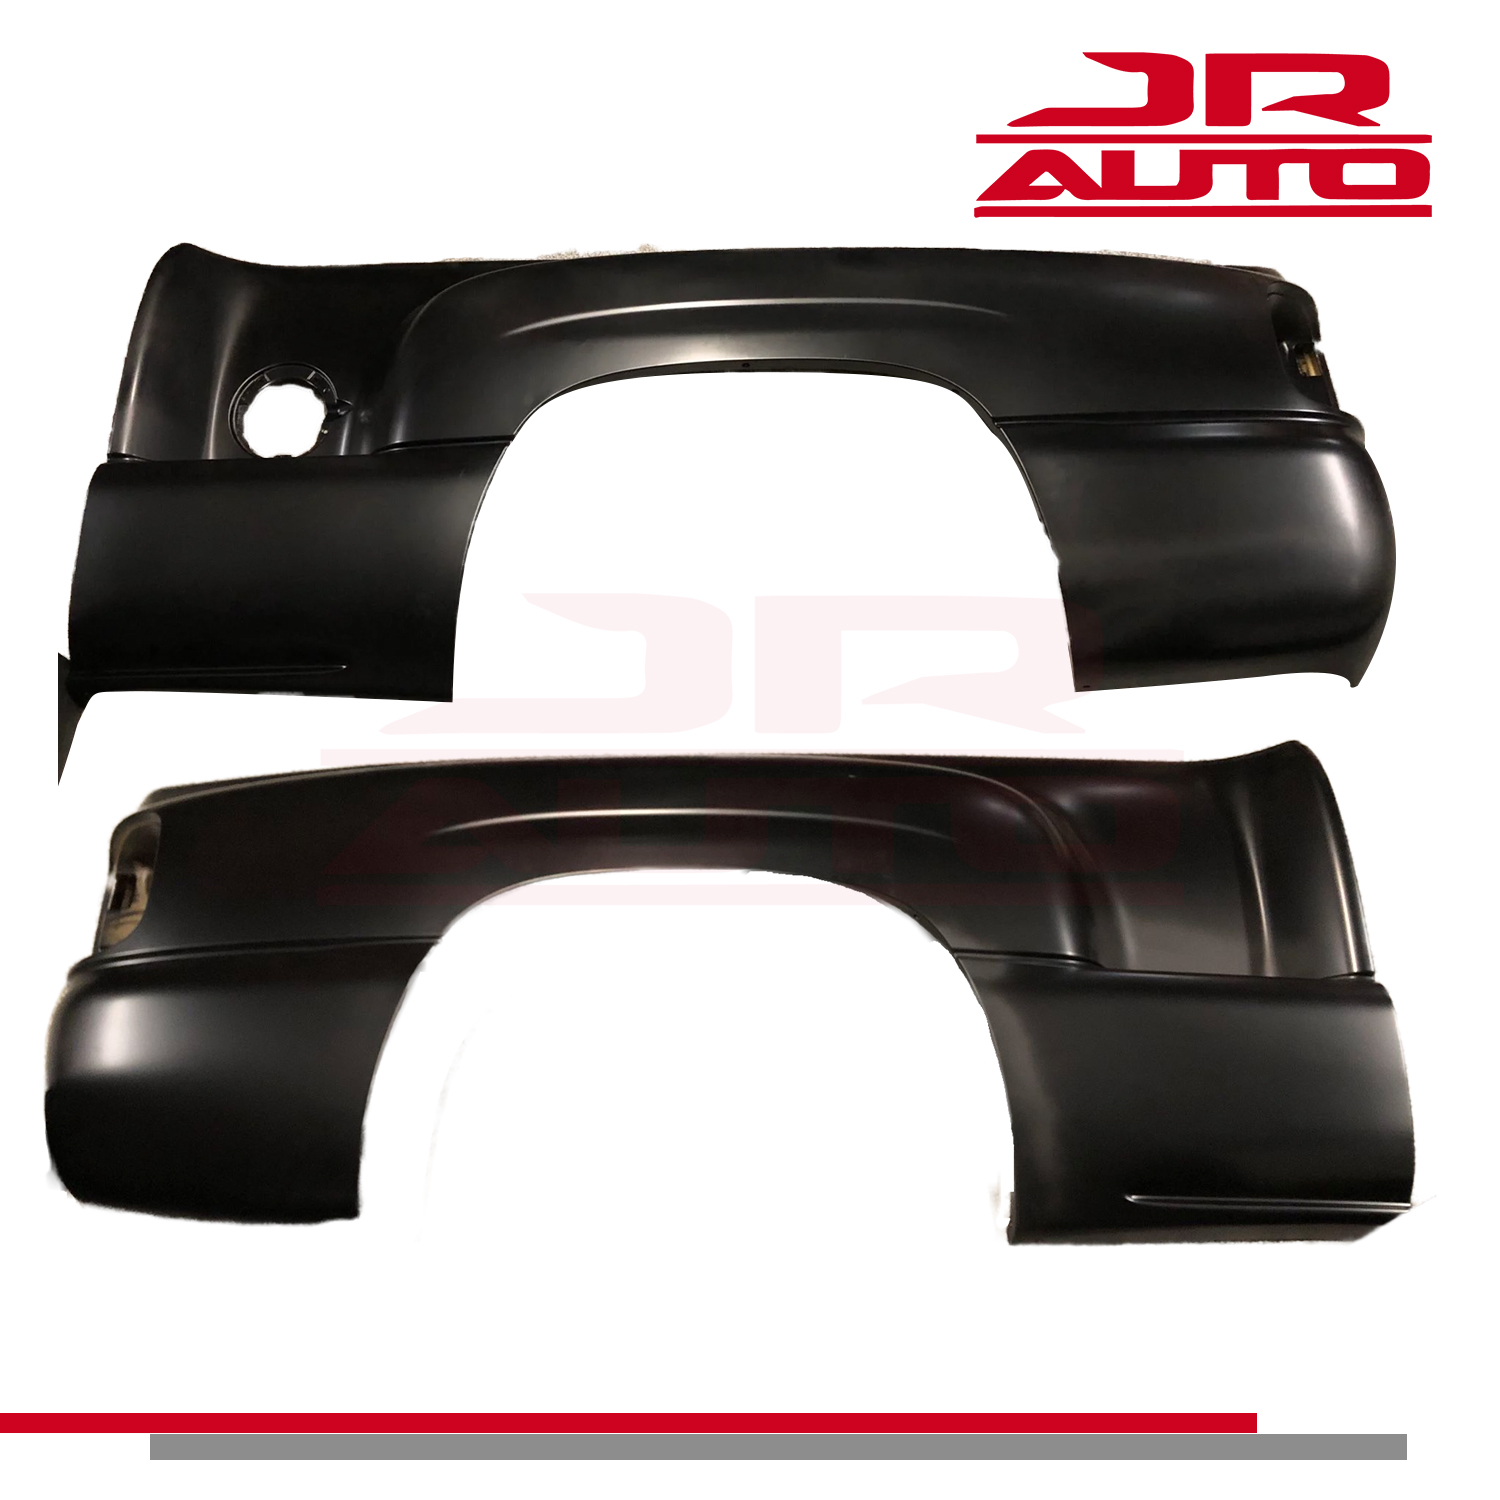
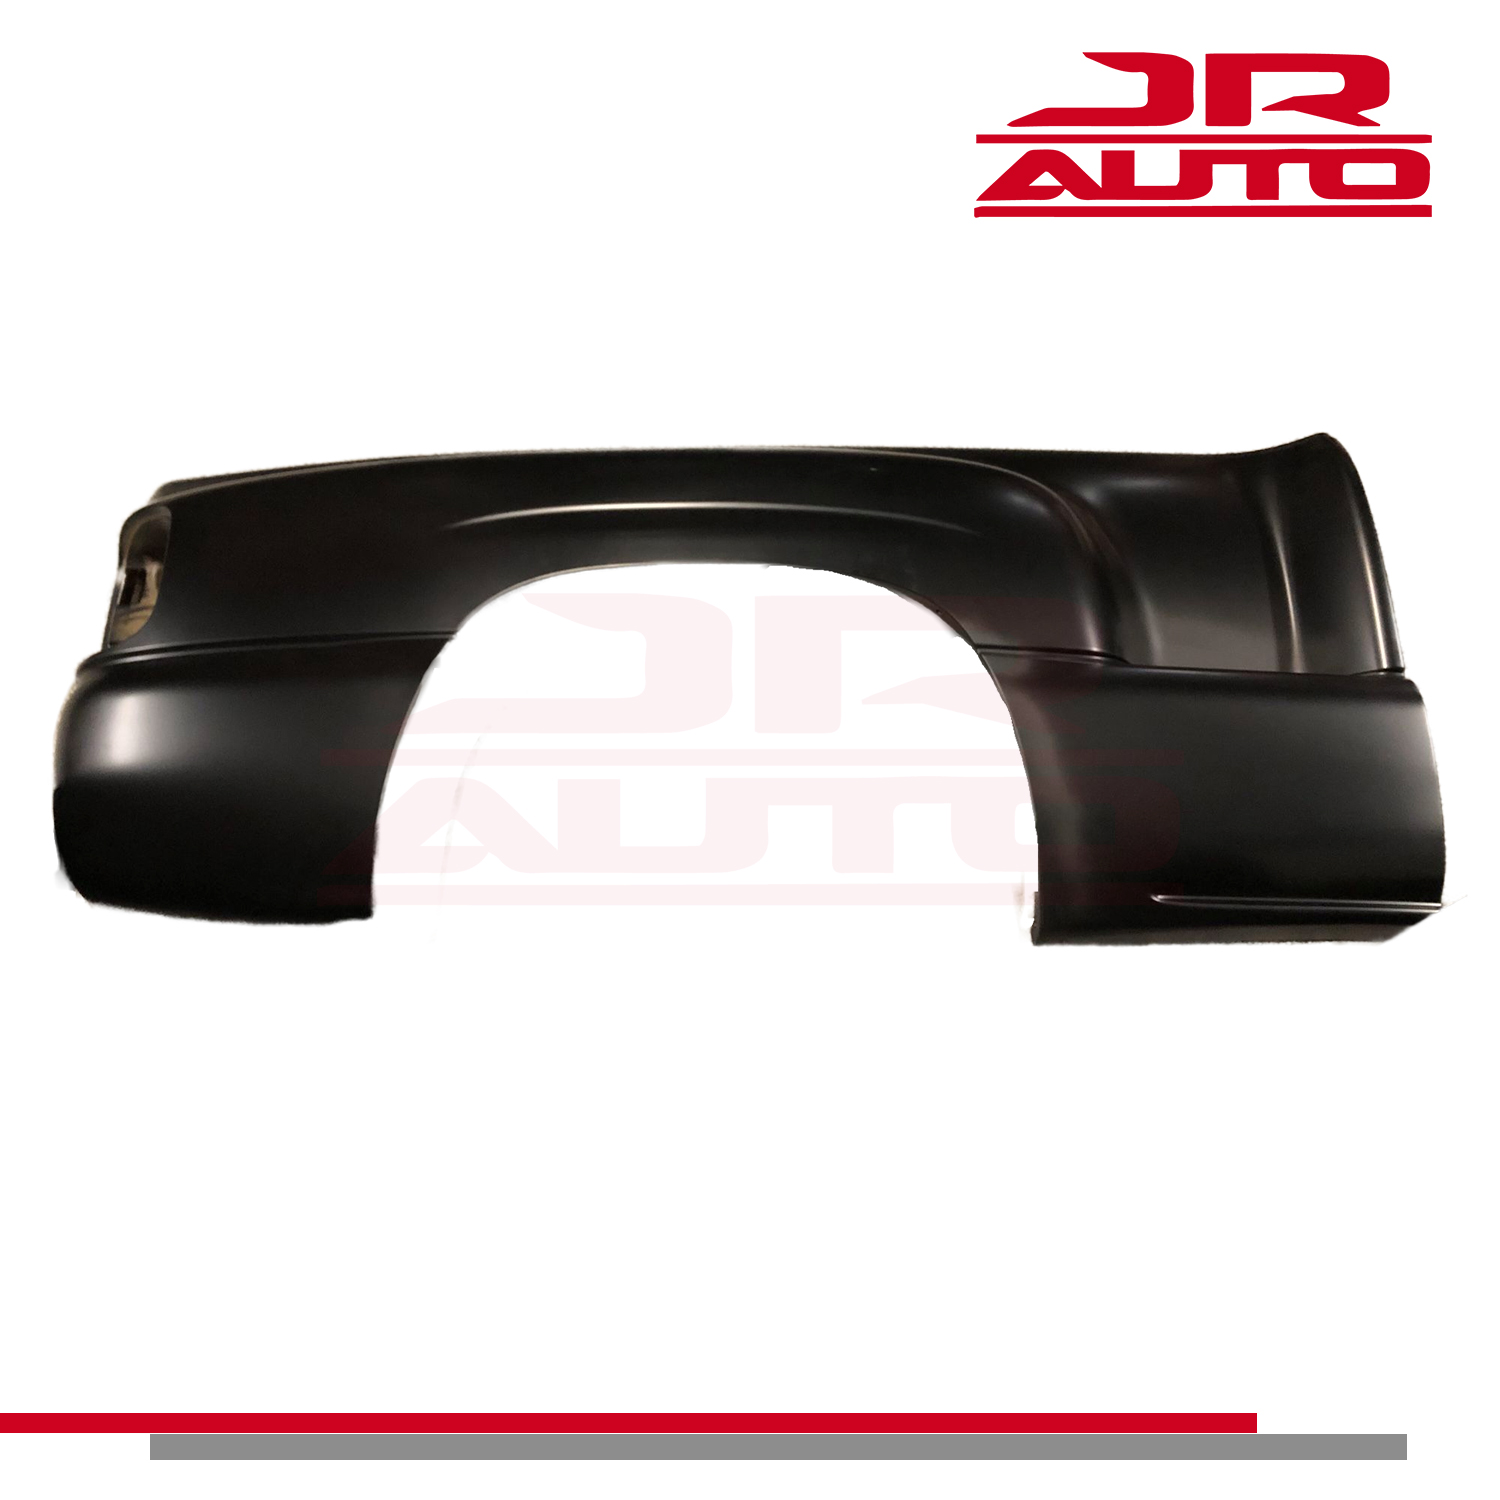
Simple Steps to Install the Fiberglass Bed Panel Flare 1999 to 2006 is a great way to improve the look and function of your vehicle. Whether you want to jazz up your Chevy Silverado or GMC Sierra Stepside, this guide will help make the installation process straightforward and enjoyable. Let’s dive into the steps you need to follow to get your flare installed smoothly.
Why Choose a Fiberglass Bed Panel Flare?
Before jumping into installation, it’s worth noting why a fiberglass flare is a smart choice:
- Aesthetic Appeal: These flares bring a modern and stylish upgrade to your truck, enhancing its overall appearance.
- Added Protection: They safeguard your vehicle against rocks, debris, and mud, especially beneficial if you often drive off-road.
- Functionality: The added width allows for larger tires, improving your truck’s handling and performance on different terrains.
- Customization: Fiberglass is easy to paint or customize to match your personal style or your truck’s color scheme.
## Tools and Materials You’ll Need
Before starting, ensure that you have everything you need to make the process as smooth as possible:
– Fiberglass Bed Panel Flare (for the 1999-2006 models).
– Drill and an assortment of drill bits
– Socket wrench set
– Screwdrivers
– A measuring tape
– Marker or pencil
– Sandpaper (optional)
– Primer and paint (if you want to customize)
– Safety goggles and gloves.
You can get these products on Amazon.
Simple Steps to Install the Fiberglass Bed Panel Flare Guide
### Step 1: Set Up Your Workspace
Pick a clean, flat area to work. Park your truck securely and make sure the parking brake is engaged. If possible, do this in a garage or shaded space to avoid any weather-related distractions.
### Step 2: Review the Manufacturer’s Instructions
Before you get started, take a moment to read the instructions that come with your Fiberglass Bed Panel Flare. Each product may have specific requirements to ensure it fits well and looks good once installed.
### Step 3: Remove Old Flares (if necessary)
If your truck has existing wheel flares, you’ll need to take those off first. Using your socket wrench, unscrew any nuts or bolts that are holding them in place. Pull the old flares off carefully to keep from scratching your truck’s paint.
### Step 4: Clean the Installation Area
Next, it’s time to prepare the area where the new flare will be mounted. Give it a good cleaning with soap and water, then wipe it down with rubbing alcohol to remove any grease or grime that might affect adhesion.
### Step 5: Dry Fit the Fiberglass Flare
Before permanently attaching the flare, place it on the truck to check how it fits. Look for any gaps and see if the flare sits evenly against the truck body. If you need to adjust, mark those areas lightly with a pencil.
### Step 6: Mark Your Drill Holes
Using a marker, identify where you will drill holes for mounting the flare. Ensure these spots align with the flare’s mounting points. Measuring out these placements carefully will help keep everything aligned.
### Step 7: Drill the Holes
Now it’s time to drill! Put on your safety goggles and carefully drill the marked holes. Ensure you use a bit that’s suitable for metal to avoid any issues while drilling.
### Step 8: Attach the Fiberglass Bed Panel Flare
With the holes drilled, position the fiberglass flare back above the holes. Use your socket wrench and the provided screws to attach the flare. Tighten them until the flare feels secure, but be careful not to overtighten and potentially damage the fiberglass.
### Step 9: Address Any Gaps
After securing the flare, inspect it for any gaps between the flare and the truck. If you notice any rough edges, you might like to use some sandpaper to smooth things out. This step will help give your install a polished look.
### Step 10: Allow for Curing Time
If you used any adhesive or paint during the installation, let them cure according to the manufacturer’s instructions. Giving it enough time ensures a solid bond and great finish.
Step 11: Final Inspection.
Once everything is in place and cured, it’s time to do a final check. Ensure all screws are tight, there are no loose parts, and the flare is sitting properly. A short drive can also help check if everything remains secure.
Maintenance Tips for Your Fiberglass Bed Panel Flare
To keep your new fiberglass flare looking great for years, here are a few easy maintenance tips:
- Regular Cleaning: Wash the flare with soap and water to keep it free of dirt. Avoid abrasive cleaners that may scratch the surface.
- Inspect for Damage: Check regularly for any cracks or chips. Address any damages promptly to prevent them from getting worse.
- Repaint as Needed: If you notice the color fading, don’t hesitate to repaint to keep it looking fresh and new.
- Park in the Shade: Whenever possible, keep your truck in a garage or out of direct sunlight to prevent fading and damage from UV rays.
By following these simple steps, you can easily install a Fiberglass Bed Panel Flare on your 1999 to 2006 Chevy Silverado or GMC Sierra Stepside. Enjoy the stylish upgrade and added functionality that comes with your new flair!